A few good starting points.
Simple illustrated lessons for making your own marks and understanding the repeat.
1. Make your first repeat → 2. Try a palette → 3. Compare the layout → 4. Export a keeper
Every lesson includes a studio-rendered example, a downloadable reference tile, and practical troubleshooting.
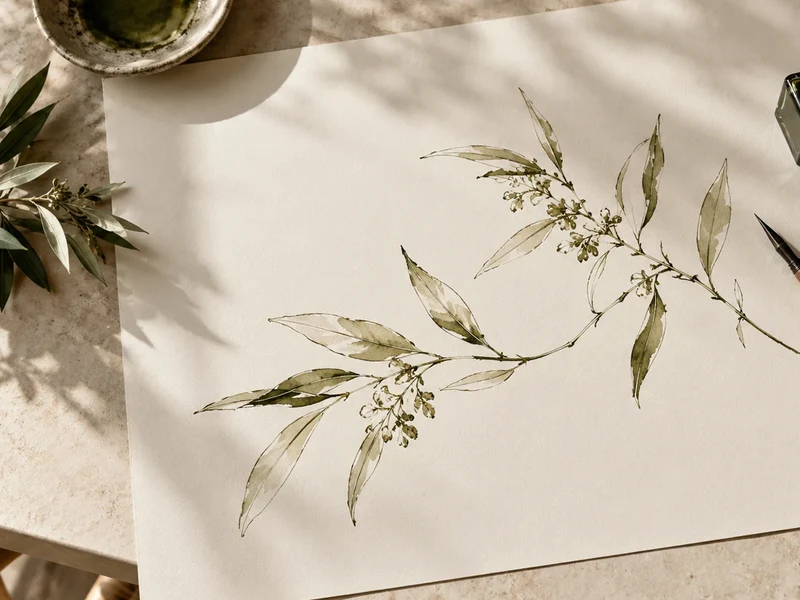
Your first hand-drawn repeat ↗
Start small and let repetition do the work.
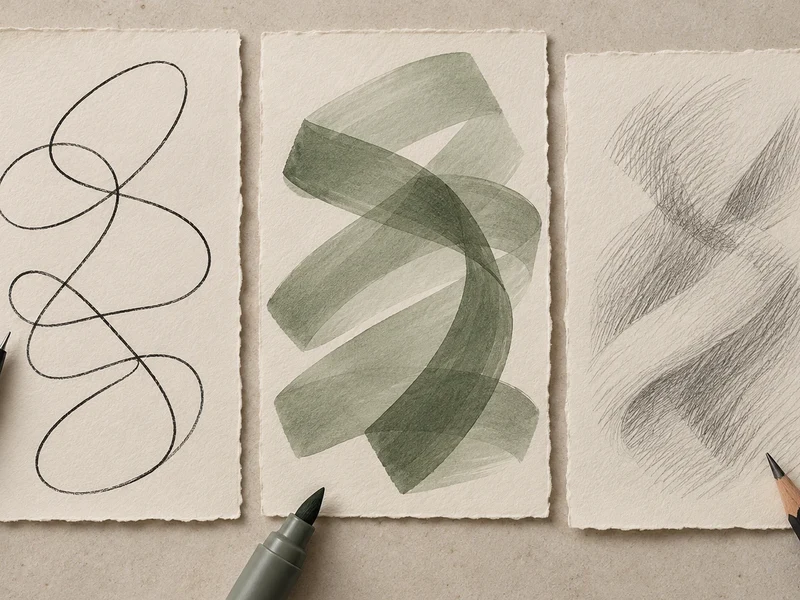
Meet your three brushes ↗
Three distinct ways to make a mark.
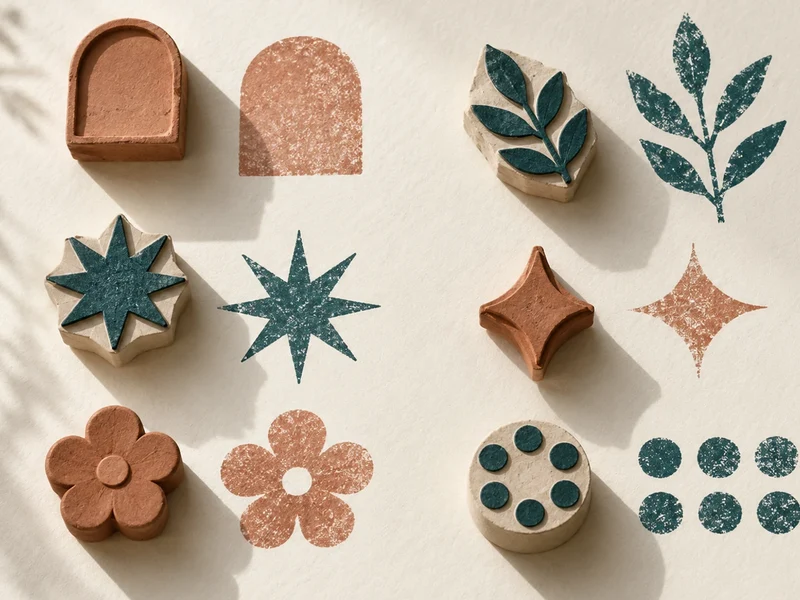
Small stamps, endless rhythm ↗
Place shapes deliberately, one tap at a time.
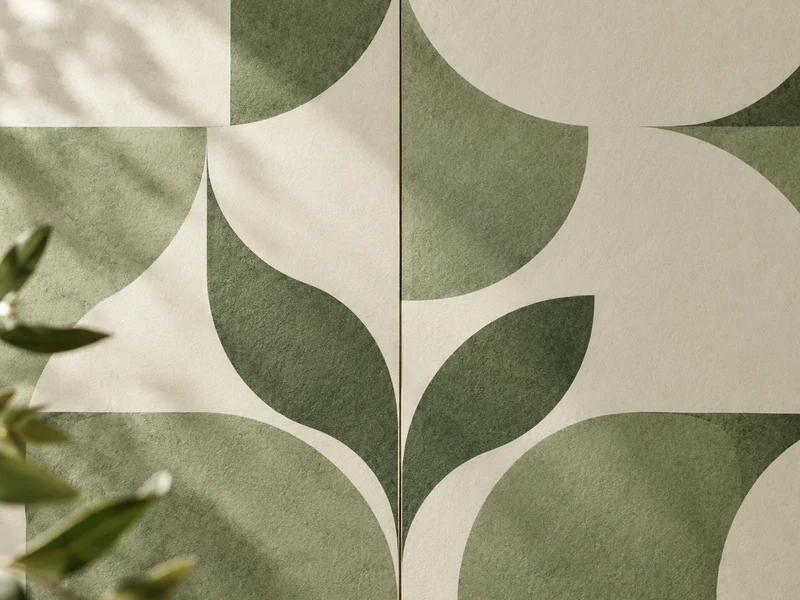
Draw across the edges ↗
Understand how marks reconnect at tile boundaries.
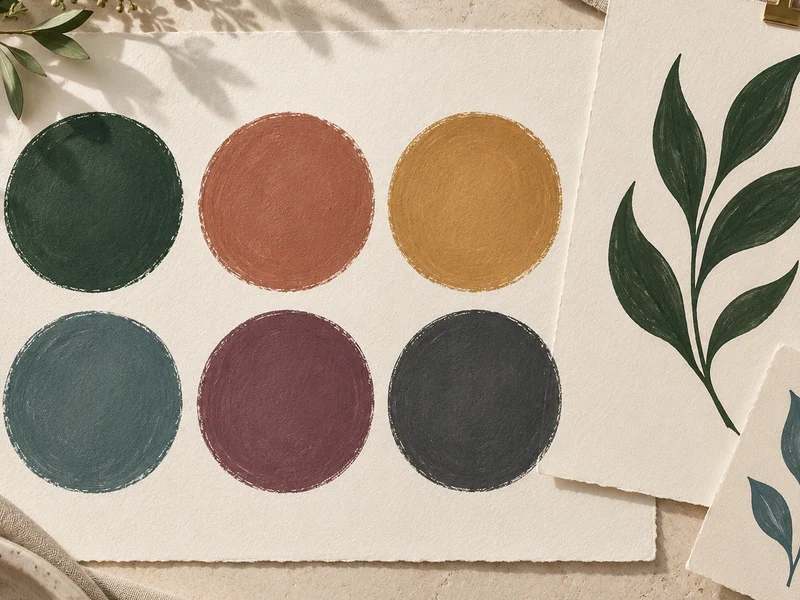
Choose a quieter color story ↗
Separate ink choices from the paper beneath them.

Make the background transparent ↗
Keep your marks and let another surface show through.
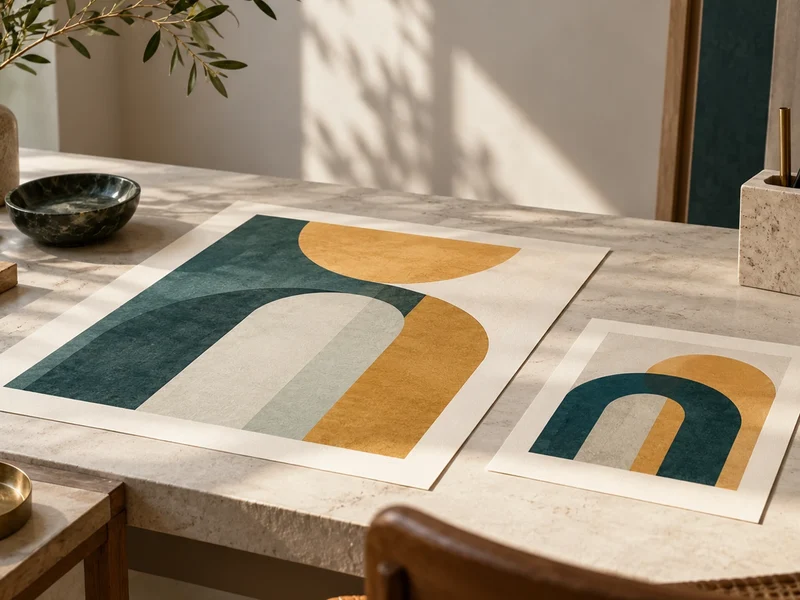
SVG or PNG? ↗
Choose a file that fits your next creative step.
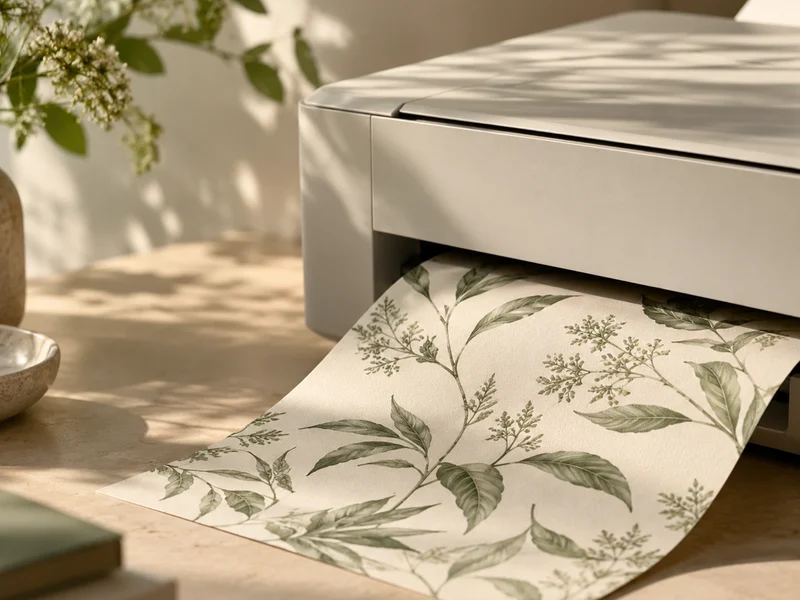
From pixels to paper ↗
Plan the physical size before you print.

One drawing, three different rhythms ↗
Use row offset, scale, and rotation without redrawing.
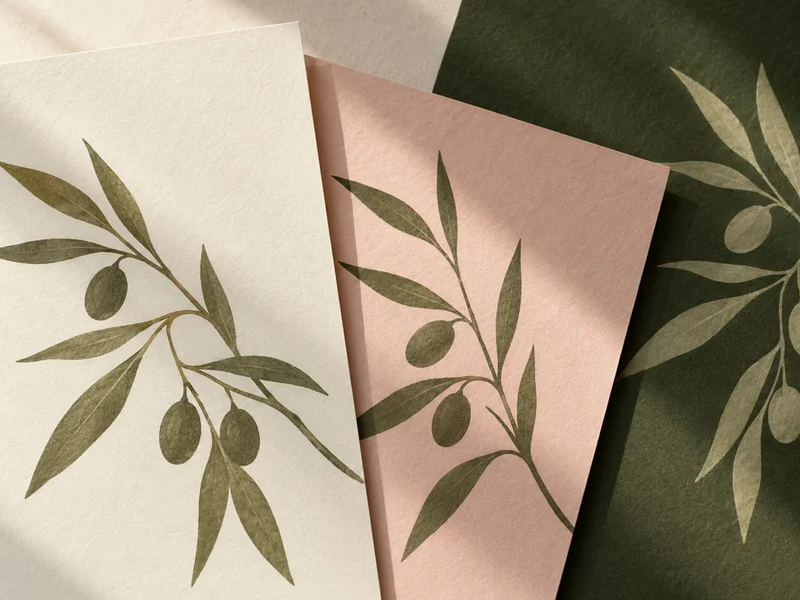
Give your marks a different backdrop ↗
Use one familiar color wheel for both ink and background.